Table of Contents
- Why Paper-Based Wedding Day Logistics Work
- Build Your Wedding Day Timeline Template
- Create a Wedding Vendor Contact List Template
- Develop Your Wedding Day Coordinator Checklist
- Assign Clear Roles and a Chain of Command
- Wedding Day Timeline Examples and What to Include
- Communicate Your Schedule and Handle Day-of Changes
- Frequently Asked Questions
Last Updated: October 11, 2026
Why Paper-Based Wedding Day Logistics Work
Scattered texts. Missed calls. A vendor showing up an hour early. A bridesmaid who never got the timeline. A solid paper-based system for managing wedding day logistics beats digital chaos: paper doesn't crash, doesn't require downloads, and leaves no confusion about who's doing what. This guide walks you through building that system with templates you can print, share, and reference all day long.
Build Your Wedding Day Timeline Template
Your wedding day timeline is the backbone of everything, the single document that tells every person when they need to be where. Start with your ceremony time and work backward: if the ceremony starts at 4 PM, when do guests arrive, the photographer, and hair and makeup begin?

A good wedding day timeline template includes:
- Guest arrival window (typically 30 minutes before ceremony)
- Vendor arrival times (photographer, videographer, florist, caterer)
- Hair and makeup schedule (with buffer time for delays)
- Ceremony start and end times
- Transition time to reception (account for travel between venues)
- Reception timeline (cocktail hour, dinner, dancing, special moments)
- Breakdown and vendor departure times
Build in buffers: add 15 minutes between major events. Use a simple format (time, event, who's involved, location) on a single page so people see the whole day at a glance.
Print at least 15 copies and give one to every vendor and wedding party member.
Create a Wedding Vendor Contact List Template
Your vendor contact list should include: vendor name and role, primary contact person, mobile phone number, arrival time, setup location, parking details, and backup contact. Print and distribute at least two weeks before the wedding.
Develop Your Wedding Day Coordinator Checklist
Your wedding day coordinator checklist should cover: one hour before ceremony (confirm vendors on-site, bride ready), 30 minutes before (line up wedding party, cue musicians), ceremony (manage transitions, watch clock), reception setup (confirm catering, test microphones), and end of night (confirm vendor departure). Print on a pocket-sized card for easy reference.
Assign Clear Roles and a Chain of Command
You need one decision-maker, usually the bride, groom, or a hired day-of coordinator, who has the final say on timing changes and problem-solving. Everyone else knows to come to them if something's off.
Define the Core Roles
Below the decision-maker, assign specific roles with clear responsibilities:
Main Coordinator: Makes timing decisions, handles vendor problems, carries the master binder, available by phone all day.
Ceremony Coordinator: Manages processional/recessional, cues music and officiant, watches the clock, coordinates with photographer.
Reception Coordinator: Manages timeline of events (toasts, first dance, cake cutting), coordinates with caterer, alerts main coordinator if running behind.
Vendor Liaison: Confirms arrival times 24 hours before, receives vendor calls, communicates issues to main coordinator.
Guest Flow Manager: Directs guests to parking, ceremony entrance, and reception venue; handles guest questions.
Backup Coordinator: Steps in if main coordinator is unavailable; knows timeline, contacts, and decision thresholds.
Establish a Clear Chain of Command
If a vendor has a problem, they don't call the bride. They call the vendor liaison. If the vendor liaison can't solve it, they call the main coordinator. This prevents 10 different people texting the bride with questions.
Create a chain-of-command card: vendors call the Vendor Liaison, then Backup Coordinator, then Main Coordinator. Guests ask an usher, go to a meeting point, or call the Guest Flow Manager. Print and distribute to all vendors and wedding party; post at ceremony and reception entrances.
Address Accessibility and Guest-Specific Logistics
A paper-based system must account for guests who cannot use smartphones, guests with mobility challenges, and guests who need clear, printed directions.
Create an accessibility checklist: reserved accessible parking near entrances, accessible routes without stairs, reserved seating with wheelchair space, clearly marked accessible restrooms, accessible transportation between venues, large-print signage (18-point minimum), and assigned helpers for guests needing mobility assistance.
Print directions for guests who don't use smartphones on the timeline itself: ceremony location, parking, entrance, and seating instructions; reception location, transportation, parking, and entrance.
Create Role Cards for Easy Reference
Print a small card for each person in a key role. The card lists their responsibilities, the timeline, the contact list, and the chain of command. They keep this card in their pocket all day.
Example role card for the ceremony coordinator:
CEREMONY COORDINATOR - [Name]
Your Responsibilities:
- Manage the processional and recessional
- Cue the music and officiant
- Watch the clock; alert main coordinator if running late
- Coordinate with photographer on timing
Key Times:
- 3:45 PM: Line up wedding party
- 3:55 PM: Cue musicians
- 4:00 PM: Ceremony begins
- 4:30 PM: Ceremony ends; family photos begin
If You Have a Problem:
- Call Vendor Liaison: [number]
- If no answer, call Backup Coordinator: [number]
- If no answer, call Main Coordinator: [number]
Meeting Point if Phone Fails: Bride's suite, second floor, room 201
Print these cards on cardstock and laminate them. Each person has one and carries it all day.
Test the Chain of Command Before the Wedding
One week before the wedding, call each person in a key role and confirm they understand their responsibilities. Ask them:
- "What time do you need to arrive?"
- "What is your main responsibility?"
- "Who do you call if you have a problem?"
- "Do you have the contact list and timeline?"
This catches misunderstandings before the wedding day. If someone is confused, clarify it now, not at 3 PM on the wedding day.
Establish a Backup Plan for Key Roles
If the main coordinator gets sick or overwhelmed, the backup coordinator takes over. If the ceremony coordinator is unavailable, who steps in? Identify a backup for each critical role.
Example:
- Main Coordinator: Bride's mother; Backup: Groom's father
- Ceremony Coordinator: Best man; Backup: Groomsman
- Vendor Liaison: Maid of honor; Backup: Bridesmaid
Tell the backup person their role before the wedding. They don't need to do anything unless the primary person is unavailable, but they need to know they're the backup and understand the responsibilities.
Print the backup plan on the contact sheet so everyone knows who steps in if someone is unavailable.
Wedding Day Timeline Examples and What to Include
Example: 4 PM ceremony with 5:30 PM reception at a separate venue. 2:00 PM photographer arrives; 3:00 PM bride hair/makeup begins; 4:00 PM ceremony; 4:30 PM family photos; 5:00 PM transition to reception (1.5-hour buffer for travel and photos); 5:30 PM reception begins; 6:00 PM dinner; 7:15 PM toasts; 8:00 PM first dance; 9:00 PM cake cutting; 10:00 PM last dance; 10:15 PM vendor breakdown. For multiple venues, add location details: "5:00 PM - Transition to reception venue (10-minute drive). Parking: Valet at reception entrance. Setup: Grand ballroom, second floor."
Communicate Your Schedule and Handle Day-of Changes
A paper-based system requires intentional, redundant communication channels to prevent vendors and the wedding party from resorting to texts, calls, and confusion when things slip.
Build a Printed Contact Sheet and Phone Tree
Create a master contact sheet that lists every vendor, every member of the wedding party, and key family members with their phone numbers. Print this on a single page (or two-sided card) and distribute it to your main coordinator, backup coordinator, and vendor liaison at least one week before the wedding.
The contact sheet should include:
- Name and role (e.g., "Sarah - Maid of Honor")
- Mobile phone number (not business lines; cell phones work when landlines fail)
- Arrival time (so anyone can verify if someone is late)
- Primary responsibility (e.g., "Ceremony coordination" or "Guest seating")
- Backup contact (the person to call if this person is unreachable)
Establish a phone tree for critical updates. If the timeline changes, the main coordinator calls the backup coordinator and vendor liaison, who then call their assigned vendors or wedding party members. This prevents the bride from fielding multiple calls and ensures information flows in one direction.
Prepare for Unreliable Cell Service
Cell service fails. Venues have dead zones. A paper-based system must work even when phones don't.
For vendors arriving early, include written parking and entry instructions on the timeline itself. Example: Photographer - 2:00 PM arrival Parking: Valet at main entrance (mention your name). Entry: Use side door (code 1234) if main entrance is locked. Meeting point: Bride's suite, second floor, room 201.
Set Concrete Decision Thresholds for Schedule Adjustments
The main coordinator needs clear rules for deciding whether a delay matters. Without thresholds, every small hiccup triggers panic.
Establish these decision rules before the wedding and print them on the coordinator's checklist:
Delays under 10 minutes: No action needed. The ceremony or reception starts on time as planned.
Delays of 10-20 minutes: Notify the affected parties (e.g., if the photographer is 15 minutes late, notify the bride and wedding party).
Delays of 20-30 minutes: Adjust the timeline.
Delays over 30 minutes: Escalate to the main coordinator immediately. This may require skipping events, reordering the timeline, or making a significant change.
Print these thresholds on a card and give it to the main coordinator and backup coordinator.
Send the Timeline and Confirm Receipt
Send your final timeline at least one week before the wedding with subject line "Your Wedding Day Timeline - [Date]." Include arrival time, responsibilities, and instructions to print and bring it. Request vendors confirm receipt by replying 'Confirmed' or calling [number]. This catches vendors who didn't receive the email.
Print Multiple Copies and Laminate
Print the timeline in color if possible. Use a simple, readable font (12-point minimum). Laminate copies so they don't get damaged if someone spills coffee or water on them.
Print at least 20 copies: one for every vendor, every member of the wedding party, the main coordinator, the backup coordinator, and extras for day-of distribution to guests or family members who ask.
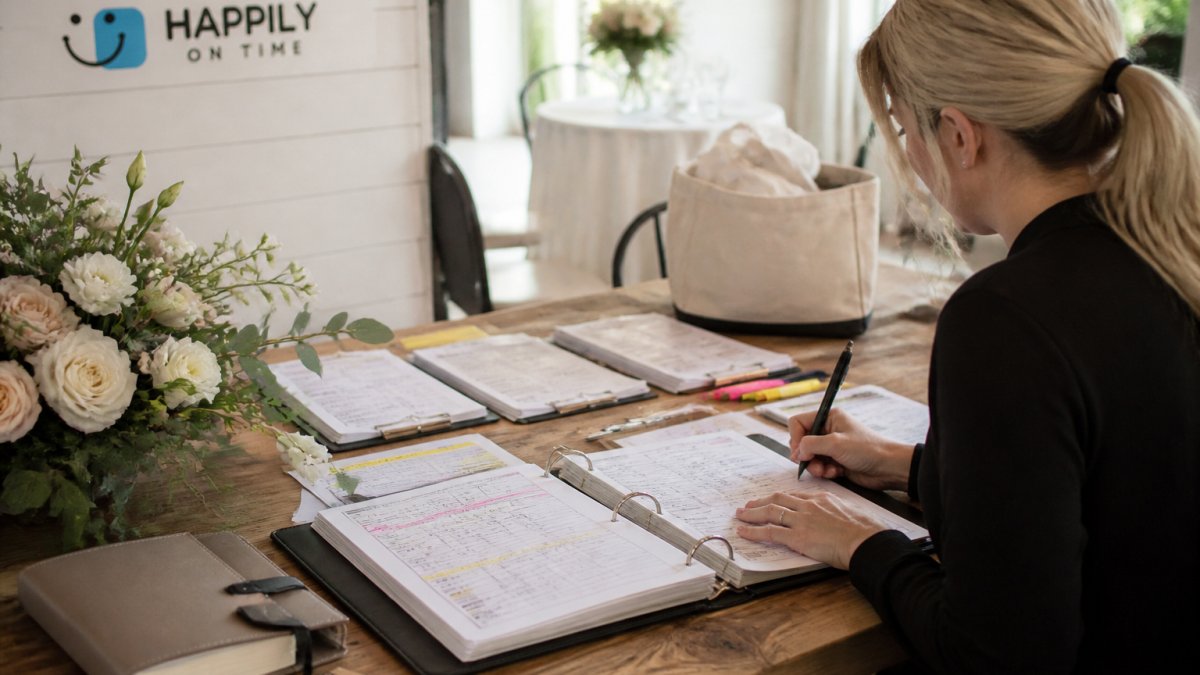
Keep a master binder with:
- The original timeline (unlaminated, for notes)
- The contact sheet
- The phone tree
- The decision thresholds
- Blank copies of the timeline (in case you need to print updates on the day)
The coordinator carries this binder all day. It is their source of truth.
Handle Day-of Changes with Clear Communication
On the actual day, things will change. When a change is necessary: (1) The main coordinator decides if the delay matters using the decision thresholds. (2) Communicate changes immediately in person or by phone, not by text. (3) Update printed copies if the timeline shifts significantly. (4) Keep the backup coordinator in the loop. (5) Log the change on the master timeline with time and reason. Most weddings run close to the original timeline. By building in buffers, establishing decision thresholds, and using a phone tree instead of group texts, you absorb delays without stress or confusion.
Frequently Asked Questions
How do you manage wedding day logistics without apps?
Use printed timelines, vendor contact lists, and paper checklists distributed to your wedding party and key helpers. Assign a decision-maker (usually the bride, groom, or coordinator) who manages changes and communicates updates via phone calls or texts. Provide each vendor and family member with only the information relevant to their role, printed or sent via text. Build buffer time into your schedule and establish a chain of command so everyone knows who to contact if issues arise.
What should a wedding day timeline template include?
Your timeline should list arrival times for vendors and the wedding party, setup and breakdown windows, ceremony start time, reception schedule, meal service, speeches, dancing, and key transitions. Include buffer time between events (typically 15-30 minutes). Add specific cues for each person or vendor (e.g., 'Photographer: be ready 30 minutes before ceremony'). Note the decision-maker's contact number and backup contacts. Keep the format simple and easy to scan, with times in bold and clear section breaks.
How should I communicate the wedding day schedule to vendors and the wedding party?
Print a customized version of your timeline for each vendor and family member, showing only their relevant times and responsibilities. Deliver printed copies 1-2 weeks before the wedding. Follow up with a text message or email confirming receipt and answering questions. Assign one person (the coordinator or a trusted family member) as the primary contact for day-of questions. Provide that person's phone number on every printed schedule. For last-minute changes, the coordinator calls or texts affected parties directly rather than relying on group messages.
What is a wedding day coordinator checklist used for?
A coordinator checklist tracks setup tasks, vendor arrivals, ceremony cues, reception transitions, and breakdown responsibilities. It serves as the decision-maker's guide for keeping the day on schedule and troubleshooting problems. Include checkboxes for completed tasks, contact numbers for all vendors, backup plans for common delays (e.g., photographer running late), and a list of emergency supplies. The coordinator uses this checklist to confirm each phase is complete before moving to the next, preventing rushing and ensuring nothing is forgotten.